
Monday, February 4, 2013
Home Sweet Home!
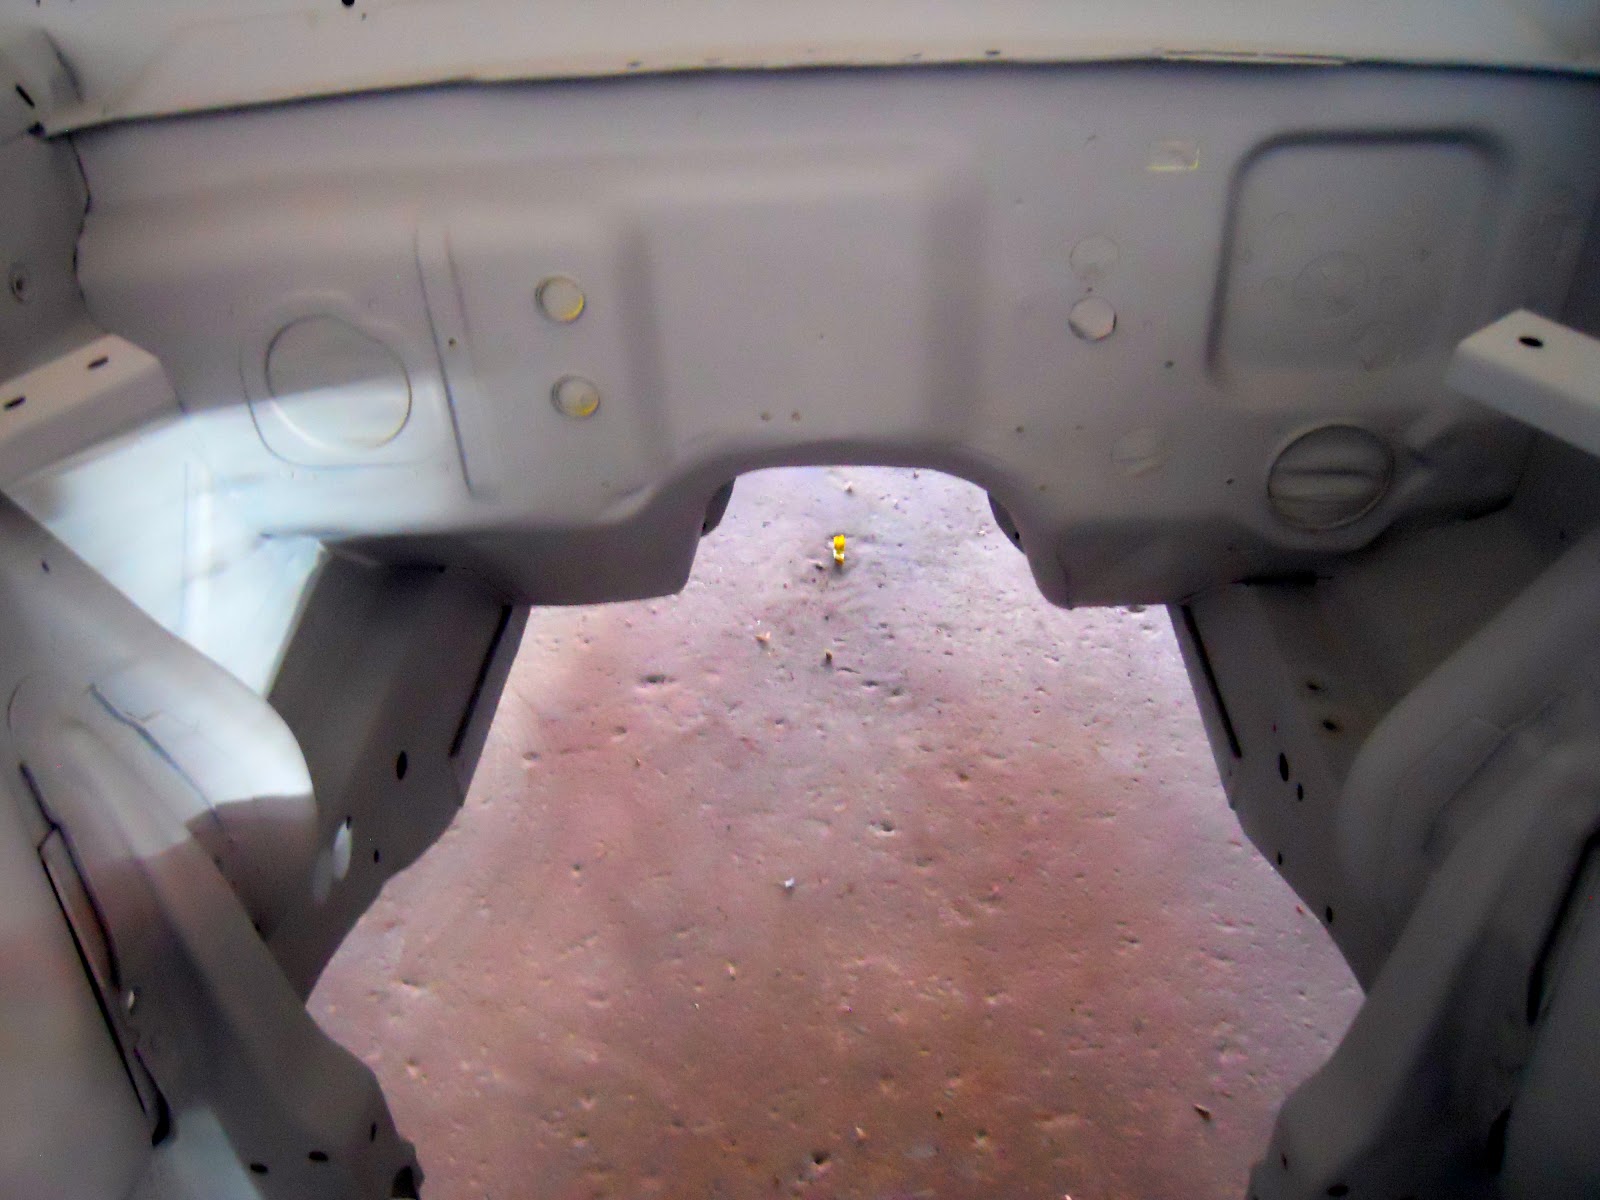
Well after several months, the little mustang is now back in my garage! My painter has done an excellent job and I couldn't be happier with the work! Please note I did try and post a video of the car, but am having issues with the google app. If anyone has suggestions, please pm. Now that the mustang is home, you would think that I would have it back on the road in a few weeks, right? Well being as this my first time on a project like this, it will take a while longer. Think many months... My goal is to attend the fiftieth anniversary on April of 2014. Sounds reasonable right? Let's hope so! I have been trying to prioritize what to do first and am starting in the middle and work and working my way out. Thus far I have added some radiant barrier insulation to the roof and the firewall. My next goal is to install the wiper assembly and main wiring harness. That should keep me occupied for a while. Below is a photo update.
Saturday, November 24, 2012
More Progress Photos!


I admit, I have been remiss in posting some update photos lately so above are a few more! In the top photo you may notice something a little different. For instance the radiator is a tad larger, six inches larger in fact. You see Ford installed an eighteen inch radiator in 1965, a twenty inch radiator in 1967 and a twenty-four inch radiator in 1968 - all for the same small block V8! Looks very stock and will help with that summer time heat. I also installed a larger A/C condenser - I like to stay cool too! There is still quite a bit of fit and finish work as you can see in the second photo, but it's getting there! Also, check out the interior pieces. The sunlight adds a little more bling, but I think it will be fine when installed on the car. Santa I have been very good this year, may my car come home for Christmas!
Saturday, October 13, 2012
Pro-Gress!


This week in the body shop, my painter is reassembling the suspension on the mustang! Already he has painted the engine bay and added the front end. He will then paint the rear leaf springs (original) and clean up on the underside of the car. Next it's on to the interior components. The last photo is of the original C5AE6015-E engine. It needs a little attention, but I think it will be alright with just some detailing. The real fun will be when I get the rolling chassis back and reassemble all the wiring, glass, chrome, lots of sound deadening and then the interior. Looks like a good winter project right?
Thursday, October 4, 2012


Saturday, September 29, 2012
Code Y Silver Blue Metallic


Well, you can knock me over with a feather! I received a call from my painter that he had a surprise for me - how cool is this? The fenders above are painted an original mustang color for 1965 - Code Y Silver Blue Metallic. The entire outside has been painted and now is in the process of being color sanded, etc. The interior and all the trim pieces still need paint. So maybe this will be a nice Christmas present? More details soon!
Saturday, August 18, 2012
The NOS Paradigm
Y0FdzcBPuZ84Pbng~~60_12.JPG)
Monday, July 30, 2012
'Tweener Car


Back when I started my interview process I found several paint and body shops. Although many have excellent references, they were out of my league. So I made an arrangement. If I wasn't in a hurry, I could get my car done in between other projects and stay within budget. This way the shop had a back up for their employees during slow times and I had a fixed fee. So far this arrangement has worked well and the quality is superb. Although this summer is way too hot, the guys are making some progress. In the photos above, all the body work has been completed on the top side. The engine bay is finished and looks great! Work has begun on the underside. All the pans have been seam sealed, epoxy primed and smoothed out. The torque boxes have been trued as the previous owner hopped some curbs. They are working from the front to the back and when complete, will begin to lay the paint!
Subscribe to:
Posts (Atom)